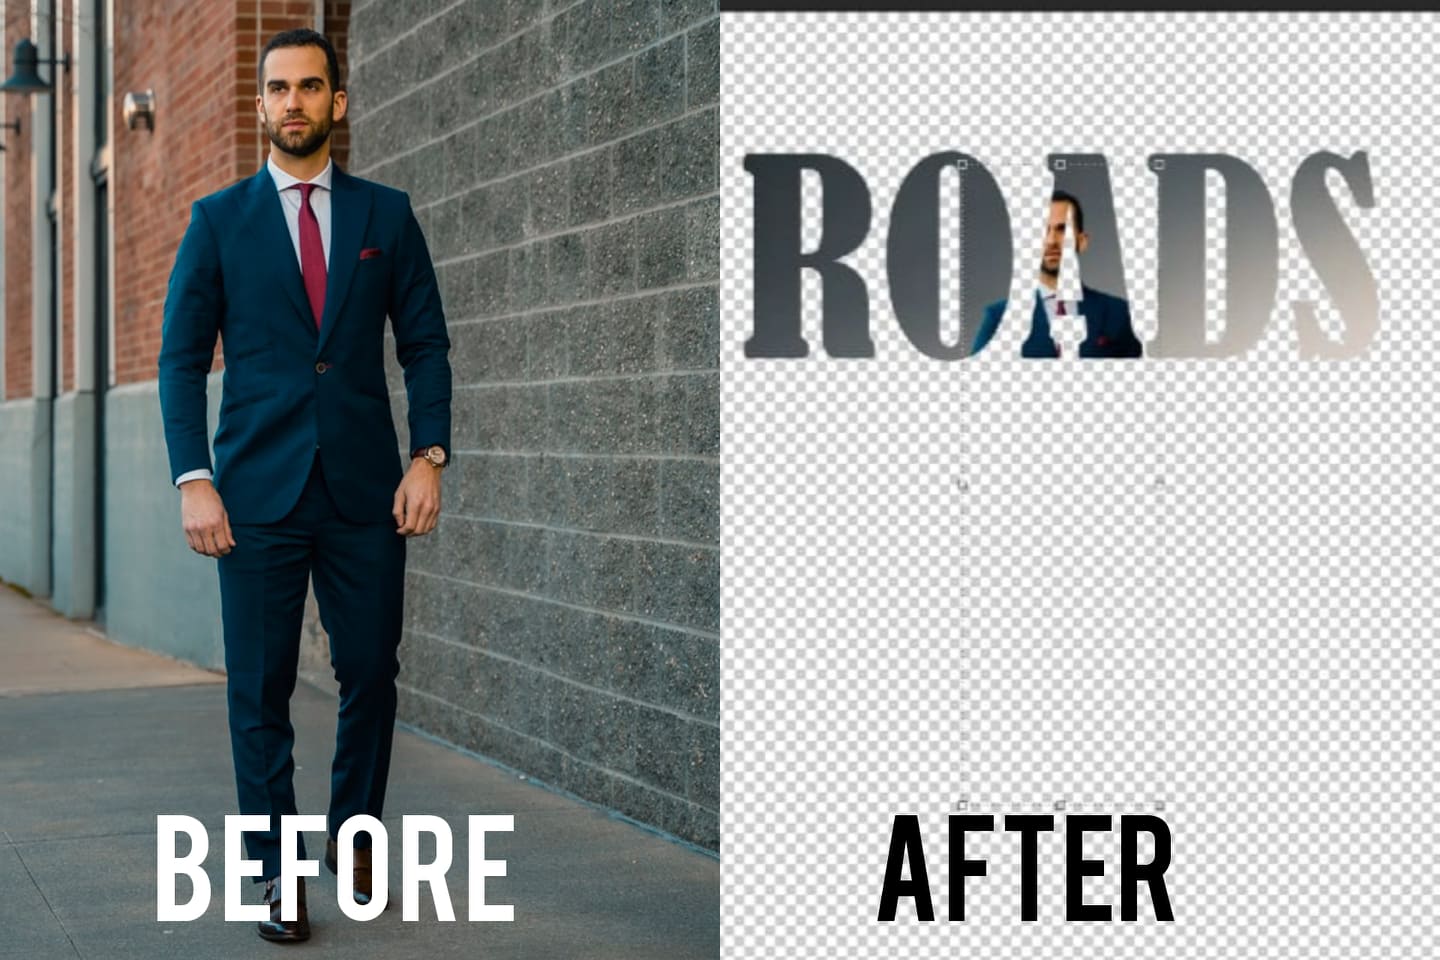
How to create a clipping mask in Photoshop – A clipping mask is shaped from created by grouping the layers. While playing with a picture in Photoshop, you will cut out many patterns and shapes. You must know an image has too many layers. A clipping mask is created on layers when cutting patterns from one layer to another.
You must know how to create a clipping mask in Photoshop. It will aid to build new frames for your image. You can make perfect typography or custom photo layouts with this feature.
Novices can mainly get advantage from it. And also the pros can try this tutorial to get something new. For its multiple benefits, many people want to learn it.
If you fall from them, you can peruse this article. Here I’m going to describe how to create a clipping mask in Photoshop. I hope it will be helpful for you.
Create a Clipping Mask in Photoshop
Working in Photoshop by creating a clipping mask is quite simple. You can work in Photoshop like professionals with some a little practice.
You will find the option “Create Clipping Mask” feature in the Layer Panel. You need to click on that option. Thus, it will convert the layer you will select into a clipping mask.
Then follow the following steps to learn how to complete the process.
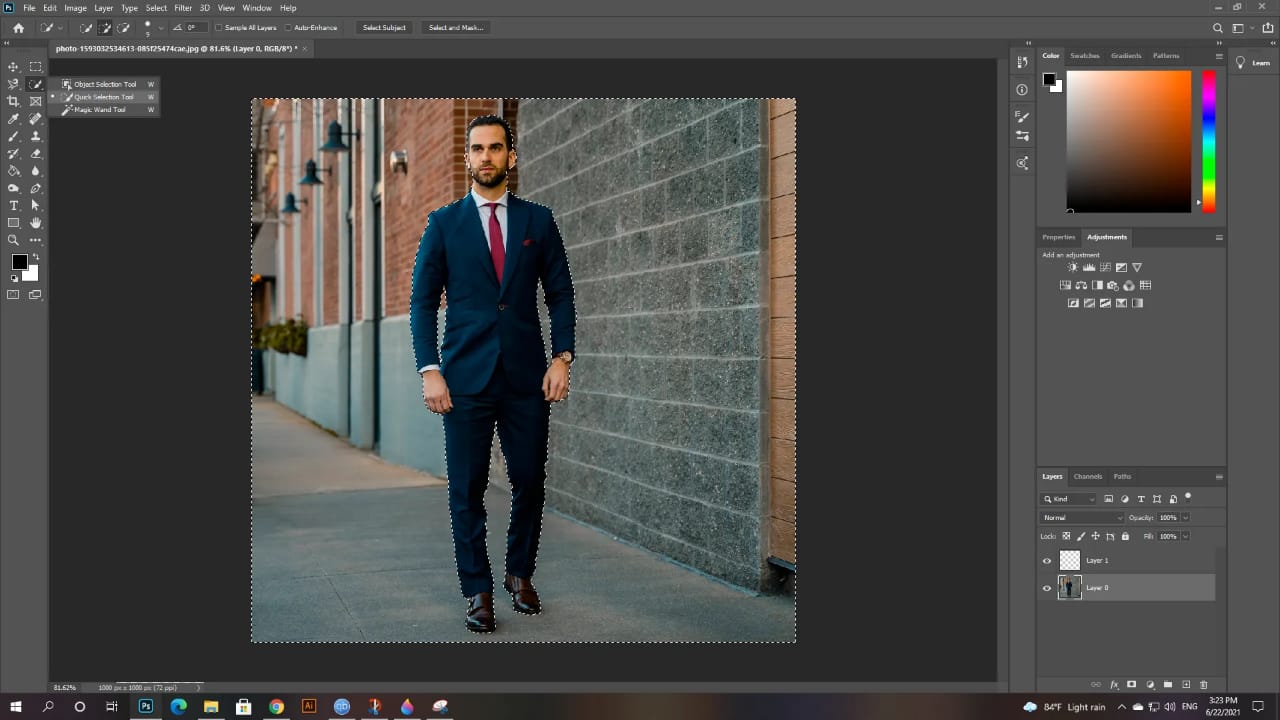
Step-1: Open the picture
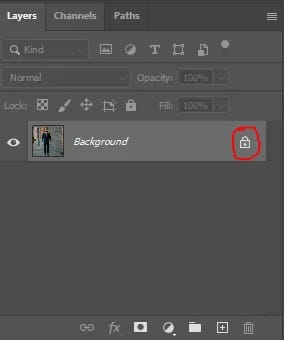
Open the picture you want to try for creating a clipping mask. This picture will be sighted in the background of the layer.

Thus layer is locked by default. However, you can unlock it. First, look at the layer name; you will see a lock symbol. Pressing the symbol, you can unlock the background layer.
Thus, it will be defined as Layer 0, in which you can make changes. This process is needed to create a clipping mask for that layer.
Step 2: Creating a new layer
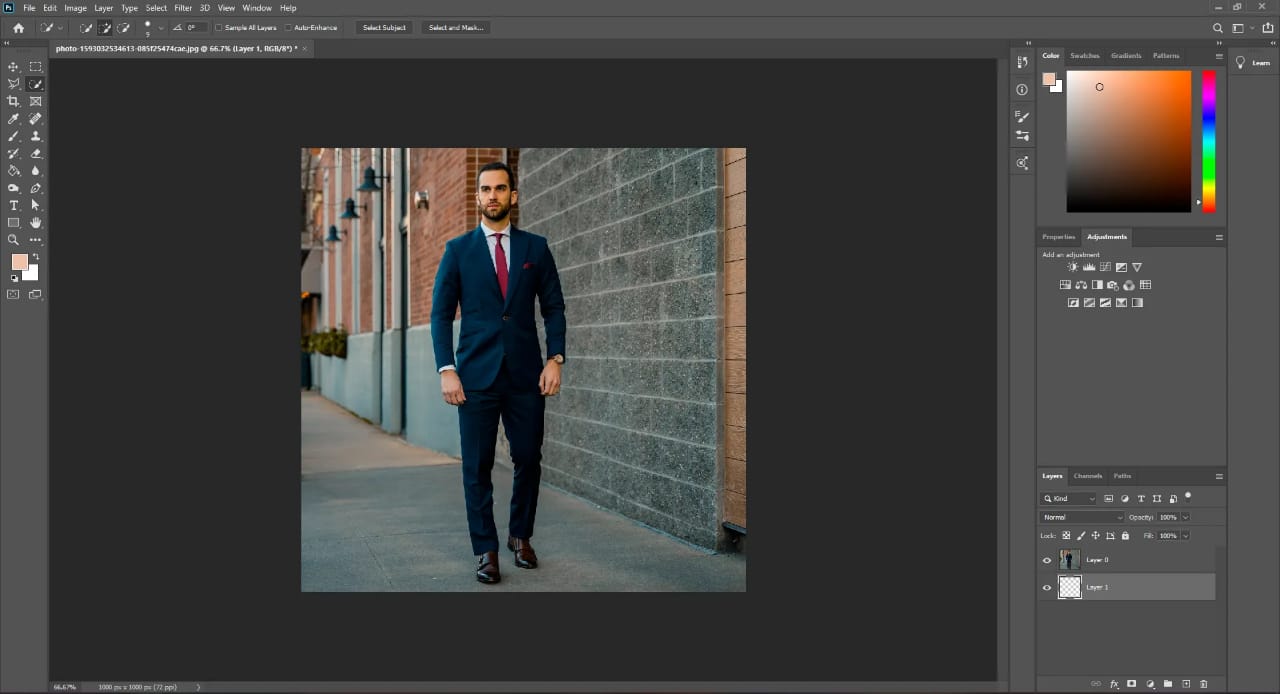
To create a clipping mask in Photoshop, you need to have multi layers. Having the image in Layer 0, you need to create another layer, layer 1.
You will find the New Layer option on the Layer Panel. You will find the New Layer icon on the Layer Panel. Drag and drop a new layer under Layer 0. You have to place the image on the topmost layer.
Step 3: Create a selection:
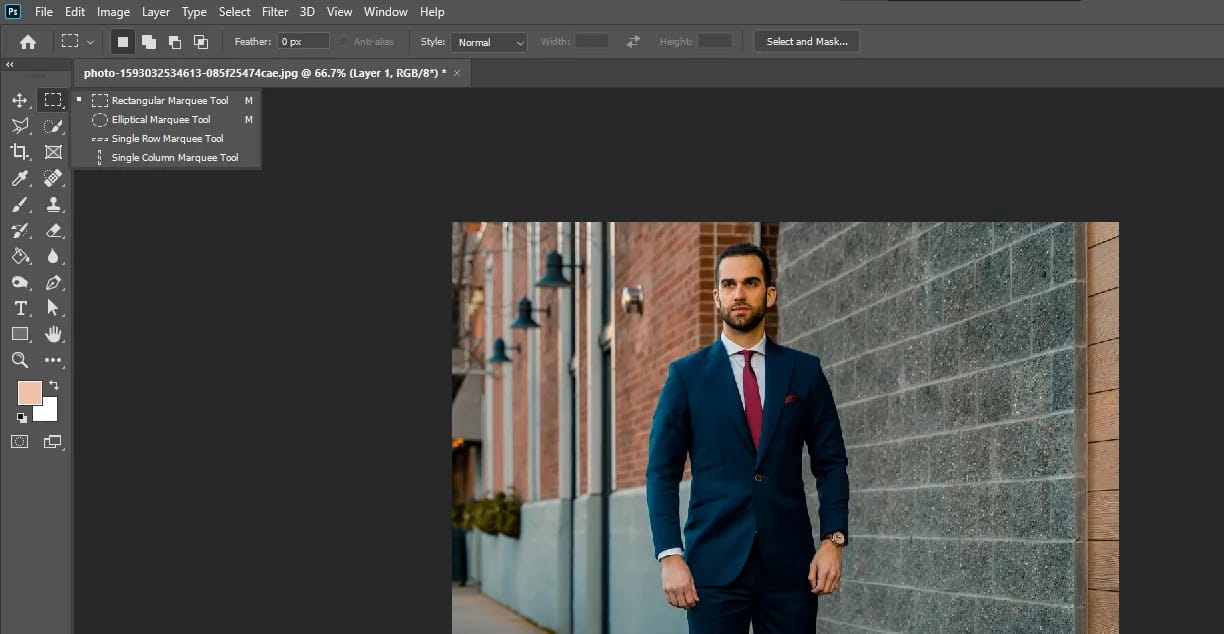
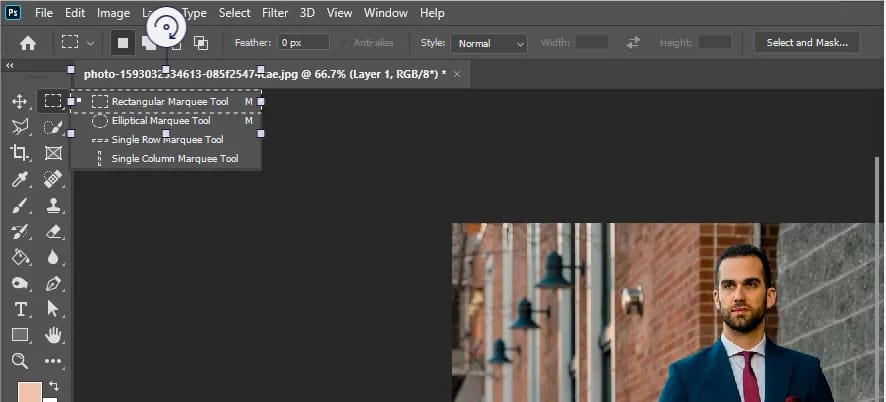
In this step, you have to select Layer 1 from Layer Panel. Then, to choose a region over your image, you need to apply the Selection Tools.
This selection procedure is crucial as it will fix the size and shape of the clipping mask. In this tutorial, we are using Rectangular Marquee Tool.
Step 4: Fill the selection:
Now, you have to hide the visibility of Layer 0. Hence, you will reveal the selected region for the clipping mask. Furthermore, you have to fill the selected region with some colors or patterns to preserve it. S it will be preserved automatically even you deselect it.
To do so, you have to choose a color for the layer from the Edit Menu.
Here we have chosen the black color, and the region is showing something like you see in the image.
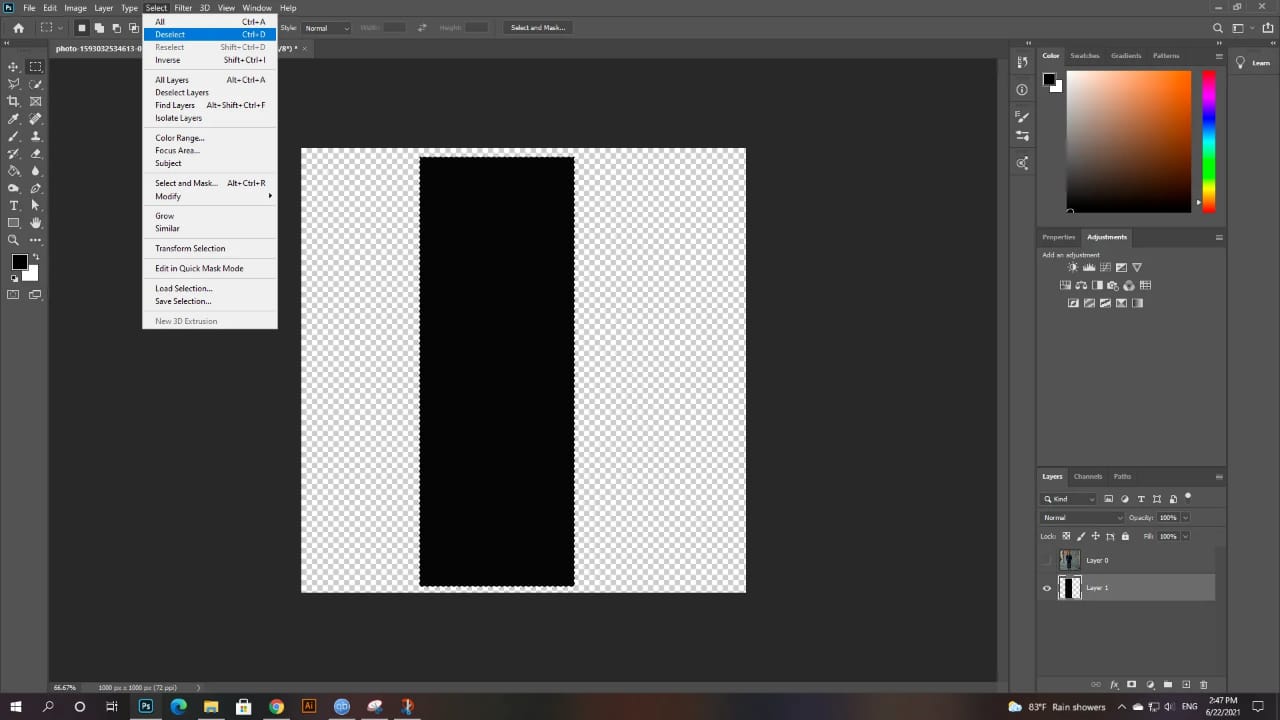
Step 5: Deselection
Now you have filled the selected region with pure color. So, now you can deselect the layer if you want. For this, you just need to go to the Select Menu and choose Deselect option.
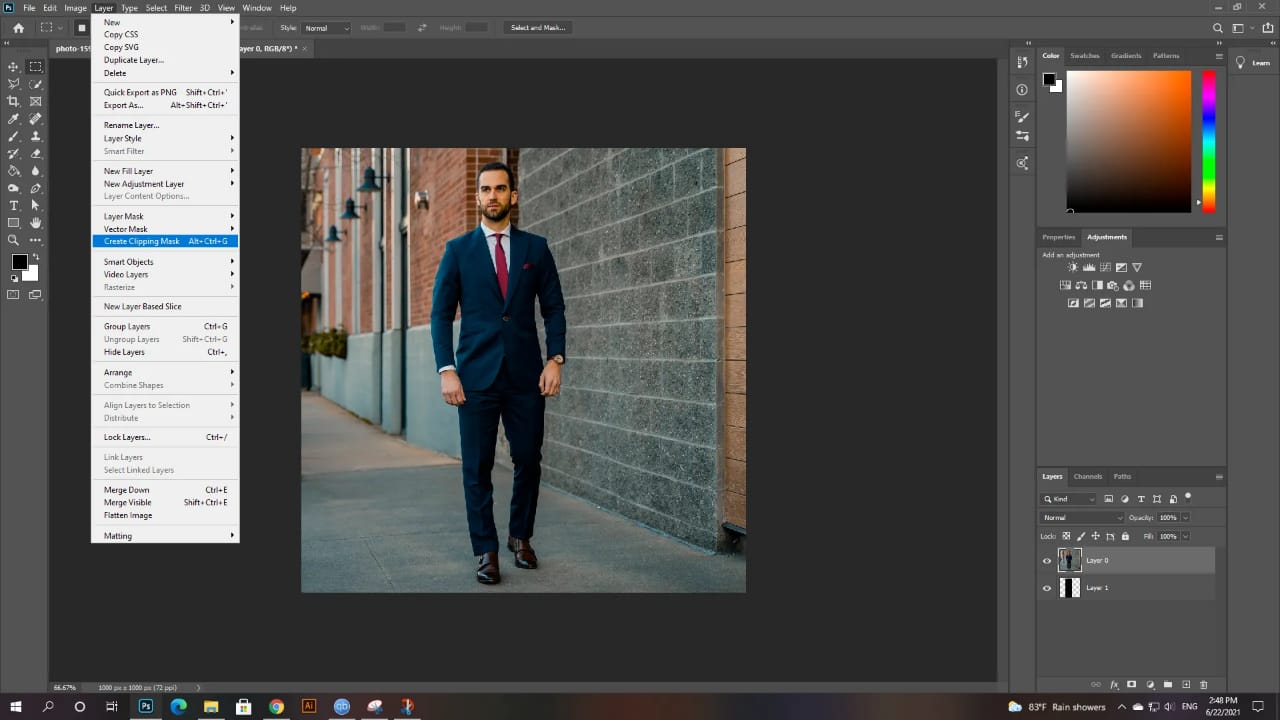
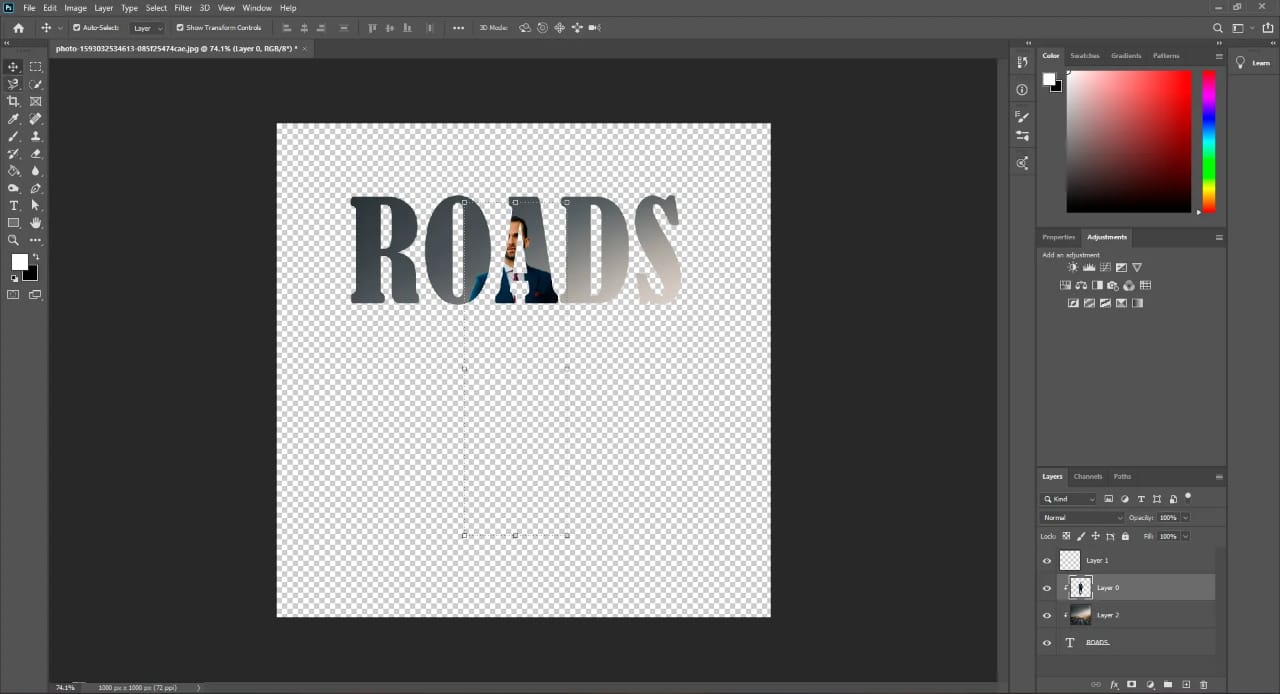
Step 6: Clipping Mask
In this step, you will do the main task. Now we will create a clipping mask using the image layer. For that, you have to go to Layer 0 and select it to make it visible.
Then, you have to choose the option “Create Clipping Mask” from the Layer Menu. Thus it will be converted into a clipping mask of Layer 0 for the layer under it.
After doing this, you will have a created essential clipping mask. It is as simple as it is. At this point, the mask will look something like this.
You can change the background changing or adding a new layer. The last layer should have the photo for the background.
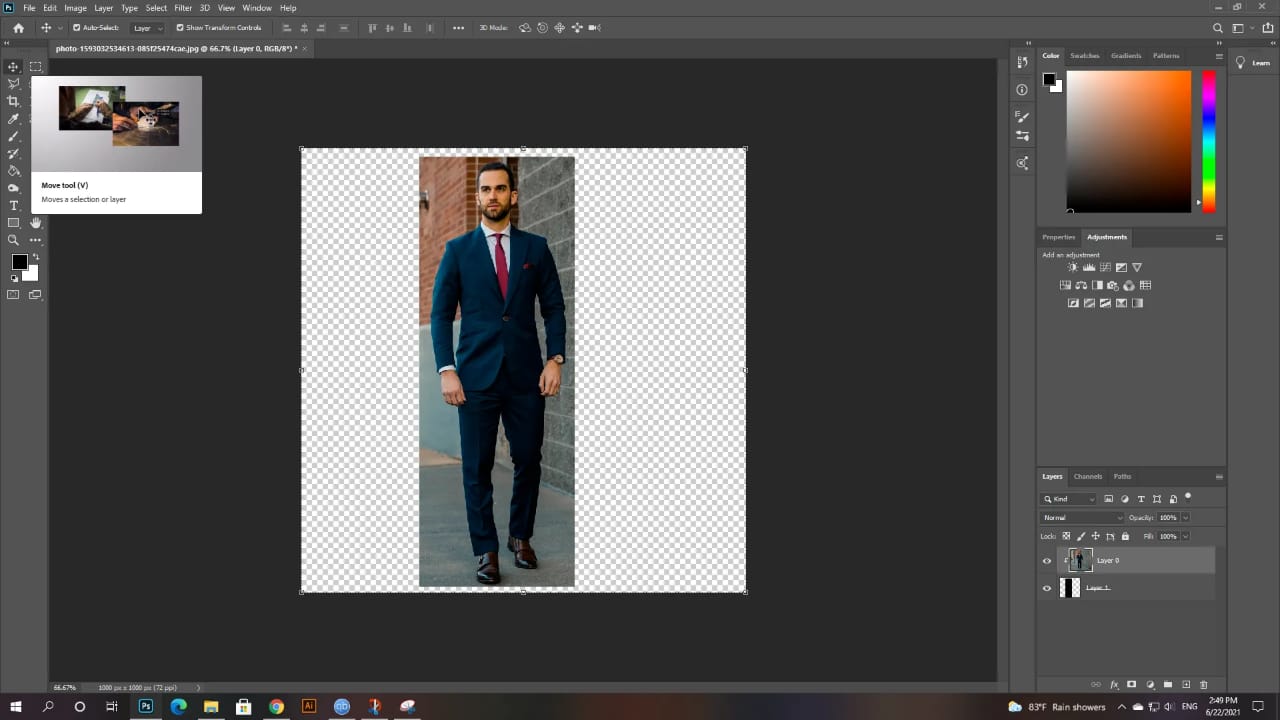
Step 7: Move
After you have done it, you may feel that how the image appears in the mask is not perfect. In such situation, move it around. For this, select layer 0 and change its position with the assistance of the Move Tool.
Final verdict
The Photoshop clipping masks are a thrilling element. This article is composed to assist you. First, you should get to know how to create a clipping mask in Photoshop. Then, discover how to expand them. Plus, create stunning designs with covers. It is ample that you can perform with clipping masks. Photoshop is vast with incredible features. All you require to do is keeping practice. And then analyze the ways. You can utilize clipping masks in your layouts.
How to create a clipping mask in Photoshop
Published By
CPP Graphics Media
You May Also Like Our One of Famous Post
How to Change Background Color In Photoshop CC


One thought on “How to create a clipping mask in Photoshop”